Manually set up an email account in the new Outlook for Windows (Microsoft 365)
This article explains how you can manually set up an additional account in the new Outlook for Windows.
Identify Outlook version
If you are not sure whether classic Outlook or the new Outlook for Windows is installed on your computer, you can use the following article to find out which version of Outlook you are using:
Set up an email account in classic Outlook (Microsoft 365)
If you use classic Outlook, you will find instructions on how to set up an email account in the following article:
Setting up an email account in classic Outlook for Windows (Microsoft 365)
Configuring the email account in the new Outlook
Requirements
- You have already set up an email address.
- You have noted down the access data for the email account.
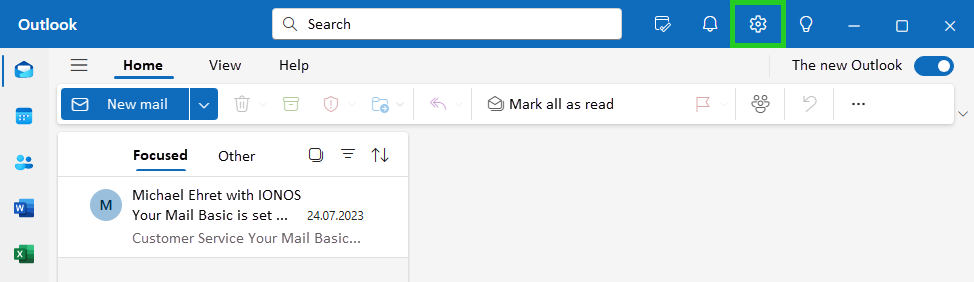
- Open the new Outlook for Windows.
- Click on the cogwheel icon in the menu bar at the top.
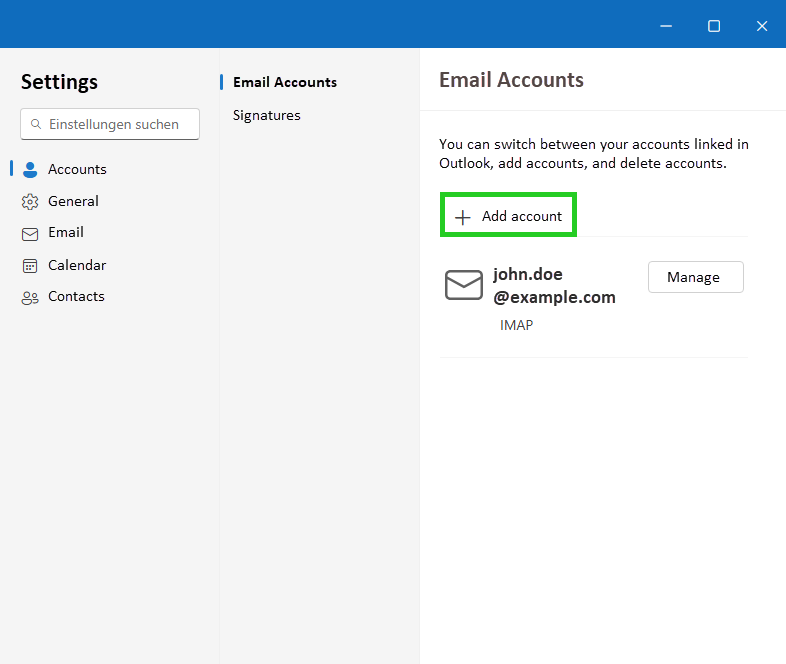
- Click on + Add account. The Welcome to the new Outlook window then opens.
- Enter the desired email address in the Suggested accounts field.
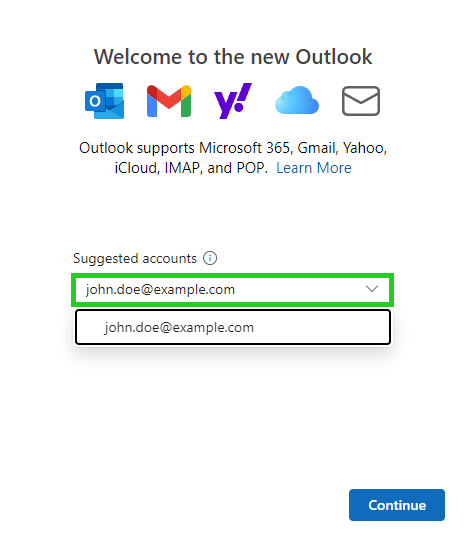
- Click on Continue. The Select your email provider window is displayed.
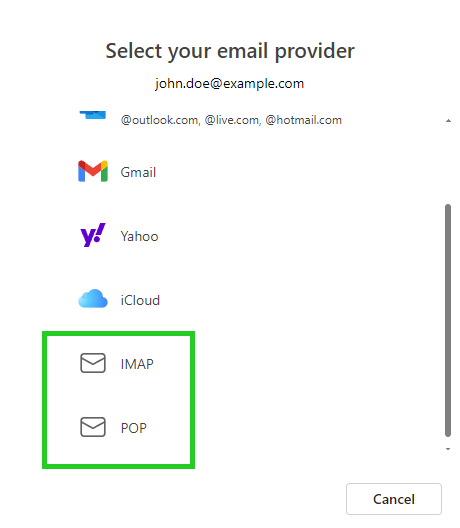
If the IMAP window is displayed instead and you want to set up a POP account, click Select provider. The Select your email provider window will then open. - If you want to retrieve your emails using IMAP, select IMAP. If you want to retrieve your emails using POP3, select POP. If you select IMAP, the IMAP window will open. If you select POP, the POP window will open.
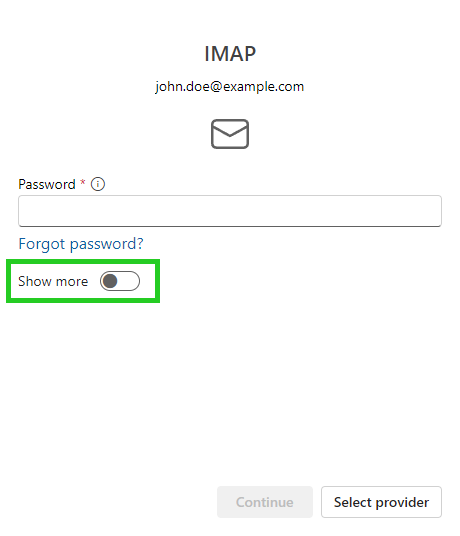
- In the Password field, enter the password that you have assigned for this email address. You assigned this yourself when you set up the email address in your IONOS account.
Note
If the password is not accepted, assign a new password for your email address. You can find more information on this in the article Change email password.
- Move the slider in the Show more area to the right.
If you are setting up an IMAP account, enter the incoming mail server imap.ionos.com in the IMAP incoming server field.
If you are setting up a POP3 account, enter the incoming mail server pop.ionos.com in the POP incoming server field.

- Make sure that the following port is entered in the Port field:
IMAP: Port 993
POP3: Port 995 - Ensure that the SSL/TLS option is selected in the Secure connection type list.
- Scroll to the SMTP configuration area.
- Make sure that the same email address you entered in step 4 is entered in the SMTP username field.
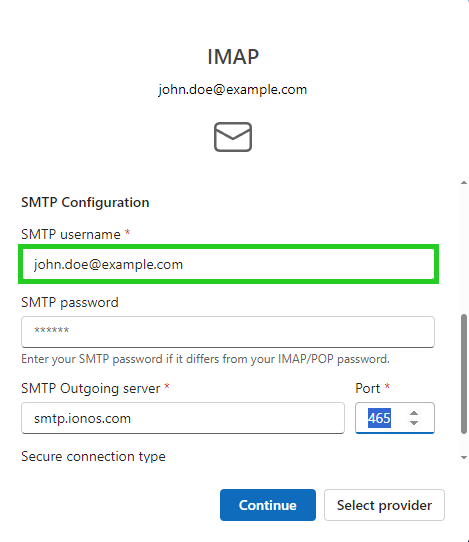
- Enter the email account password in the SMTP password field. You assigned this yourself when setting up the email address in your IONOS account.
- Enter the outgoing mail server smtp.ionos.com in the SMTP outgoing mail server field.
- Enter port 465 in the Port field.
- In the Secure connection type list, select SSL/TLS (recommended).
- Click on Continue. If you are setting up an IMAP account, the Sync your IMAP account window is displayed. If you set up a POP3 account, the Sync your POP account window is displayed.
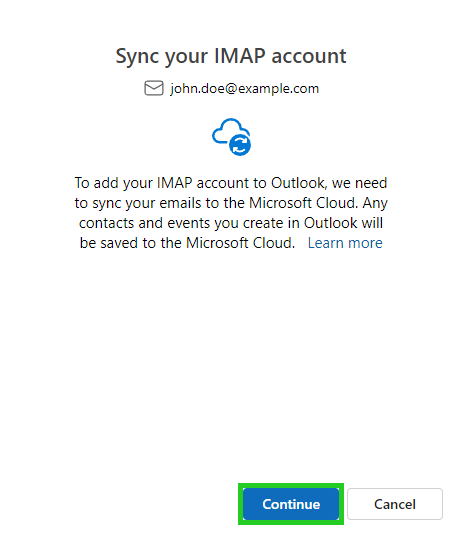
- Click on Continue.
The account will now synchronize. - Click on Done in the Successful window.
Notes
- If no messages are sent or received, check the account settings.
- Check whether the required ports are enabled in the firewall you are using.
- Check the settings of the antivirus program you are using.
More Information
Further information can be found here: