Add and Manage Virtual Hosts on a Plesk Server
Learn how to add and manage domains as virtual hosts on a Cloud Server with Plesk. Virtual hosts allow you to host multiple separate websites on the same server, with a separate set of directories for each website.
For any Cloud Server with Plesk, administrative functions like adding a virtual host should always be done using the Plesk interface.
Requirements
- A Cloud Server with Plesk Onyx (any operating system)
This tutorial uses the Power User view. You can change the Plesk view by clicking Change View at the bottom of the column on the left.
Thanks to free starting credit, you can test the IONOS cloud server for 1 month free of charge (or until the credit is used up) and experience the perfect combination of performance and security!
Add a Virtual Host
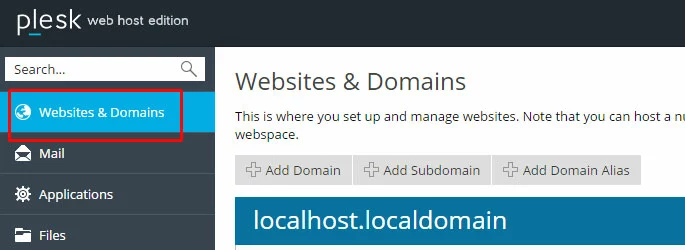
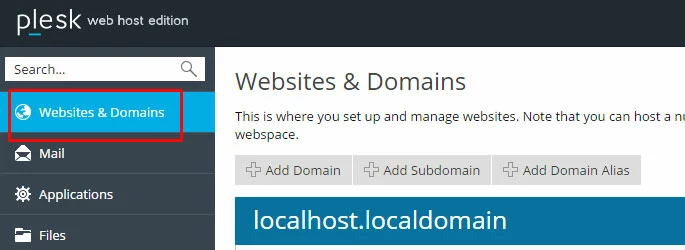
Log in to Plesk and go to Websites & Domains.
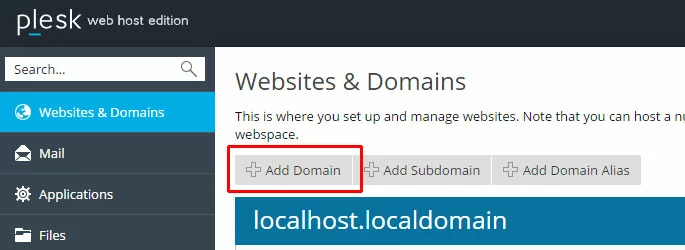
Click Add Domain.
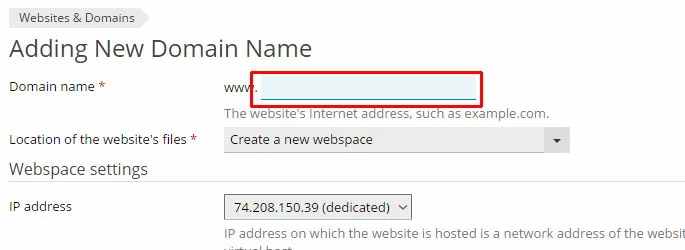
Fill out the details for the domain.
- Enter the domain name in the Domain name field.
- For a new website, leave Location of the website's files at the default "Create a new webspace." If you wish to point this domain name to an existing website, choose the existing website from the drop-down menu.
- Select the IP address for the website.
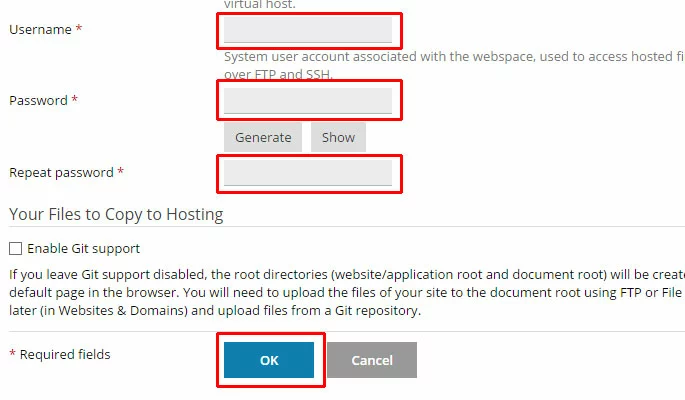
- Choose a username for this domain. This will be used for logging in to the domain with FTP and SSH.
- Enter a password (twice). To generate a secure password, click Generate.
- Click OK to add the virtual host.
- Free Wildcard SSL for safer data transfers
- Free private registration for more privacy
- Free 2 GB email account
Manage a Virtual Host
Go to Websites & Domains.
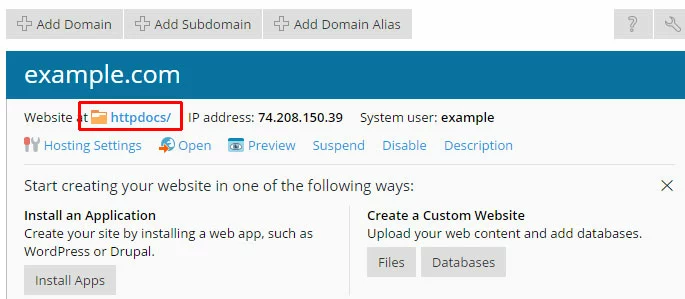
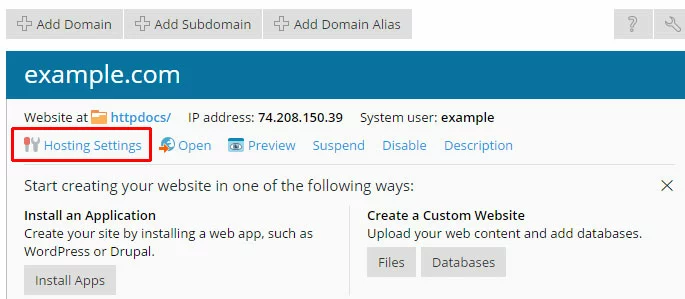
This will take you to an admin panel for each virtual host. Here you will find the options and administration tools for every aspect of the domain.
To upload documents to the domain using File Manager, click the httpdocs link.
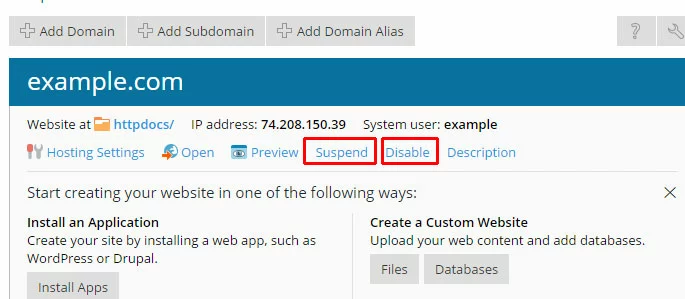
You can suspend or disable the website by clicking the relevant link.
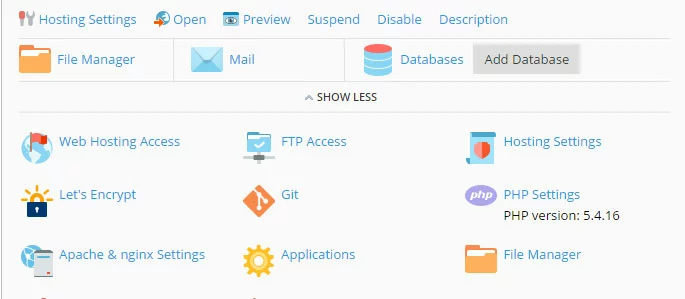
There are also many options for applications and features which you can install and manage for the domain.
To change the settings for the domain, click Hosting Settings.
In this section, you can change the following settings:
- Domain name
- Hosting type
- Website status (to disable or suspend the domain)
- Document root, where the website's files are located
- Whether www.example.com or example.com is the preferred URL.
- SSL options
- Web scripting options (for PHP, CGI, etc.)


