Continuous ping in Windows, Linux, and MacOS
Ping is available in Windows, Linux, and MacOS as a diagnostics tool for network connections. In our article on ping command basics, we already introduced you to the command line program’s functions. To complement this, we’ll show you below how you can use ping for continuous tests.
Continuous ping in Windows 7, 8, and 10
In Windows, the ping sends four data packets in its default setting to the target computer you specified by IP address or host name. If you would like to test the network connection between two computers on an ongoing basis, the “continuous ping” option is available.
Follow these instructions to run ping in Windows 7, 8, or 10 as a continuous test.
Step 1: Open the Windows command prompt. One way of doing this is by entering the key combination Windows + R and enter the command CMD.
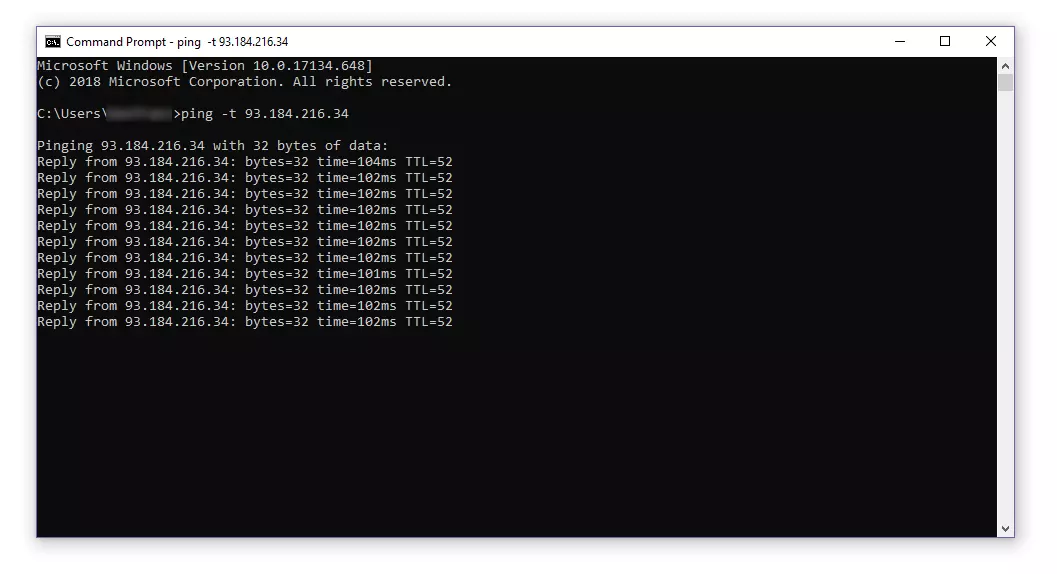
Step 2: Enter the command line ping with the -t option and any address and confirm by clicking [Enter].
- Simple registration
- Premium TLDs at great prices
- 24/7 personal consultant included
- Free privacy protection for eligible domains
ping -t 93.184.216.34For each incoming response packet, ping issues an entry on the standard output (stdout). Provided that you haven’t added any other settings, the information will be recorded directly into the terminal. The output comprises the IP address of the pinged computer, the size (in bytes) of the response packet, the response time in milliseconds (ms) as well as the TTL (Time to live).
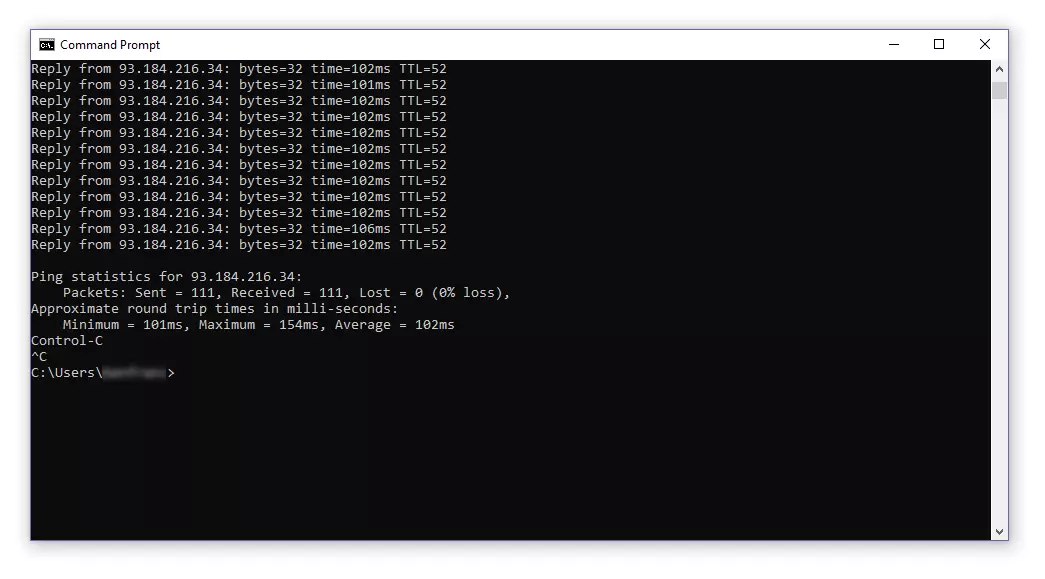
The echo queries are dispatched every second to the target computer until you end the command line program with [Ctrl] + [C].
If you stop the ping, the program displays a statistical summary (ping statistics) at its conclusion.
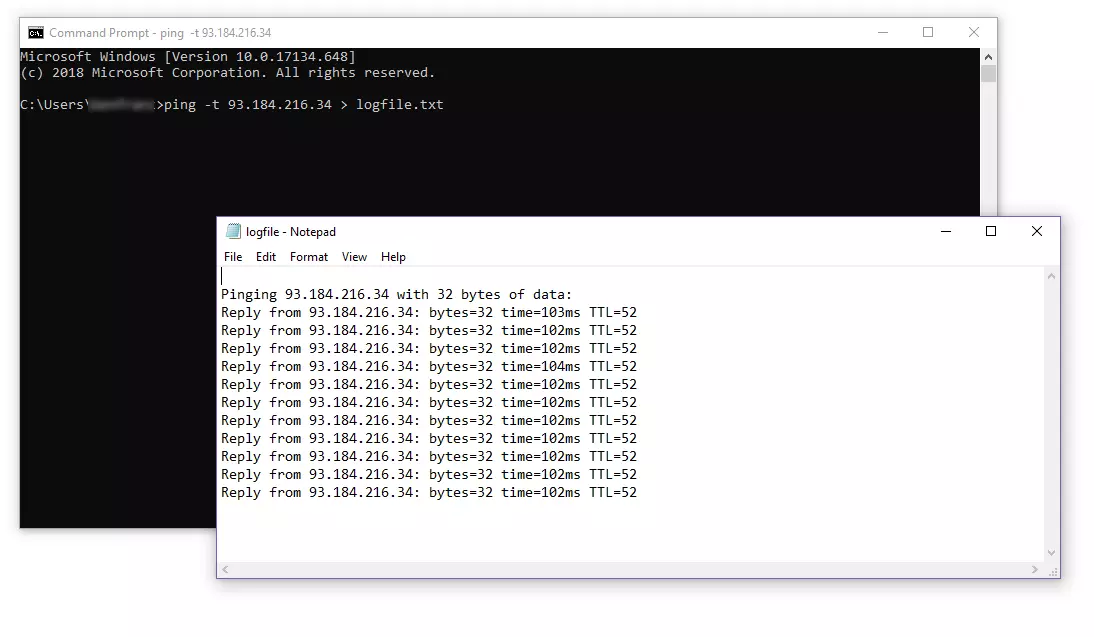
If needed, you can redirect the standard output to a text file. To do so, you add the appropriate operator (the greater-than symbol) as well as the file name (including the extension).
ping -t 93.184.216.34 > logfile.txtIf no file is found under the specified file name, it will be automatically generated. In the example presented above, we redirect the standard output to a txt file named logfile.
Both the information on the incoming data packets and the ping statistics will be recorded in the text file you have specified.
You’ll find an overview of the most important CMD commands in our article on the basics of the Windows command prompt.
Continuous ping in Linux
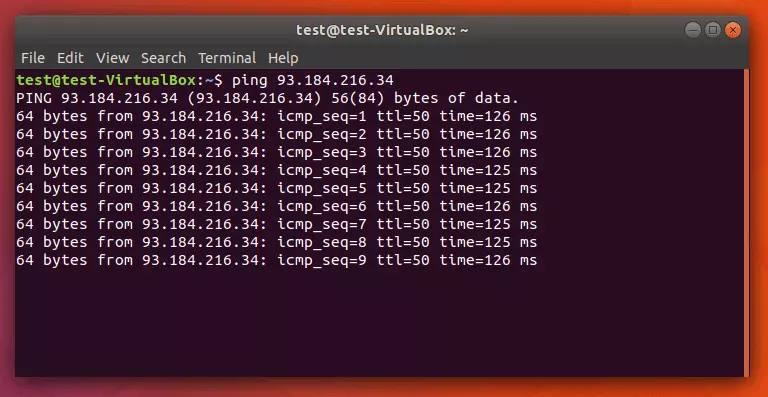
In Linux, the ping command line program is already run on an endless loop in the default setting. Follow the instructions below to perform a continuous ping test in a Linux system.
Step 1: Open the terminal for your Linux distribution in Ubuntu. One way to do this is with the key combination [Ctrl] + [Alt] + [T] (Genome, KDE).
Step 2: Enter the ping command and the target computer’s address in the command line and confirm by hitting [Enter].
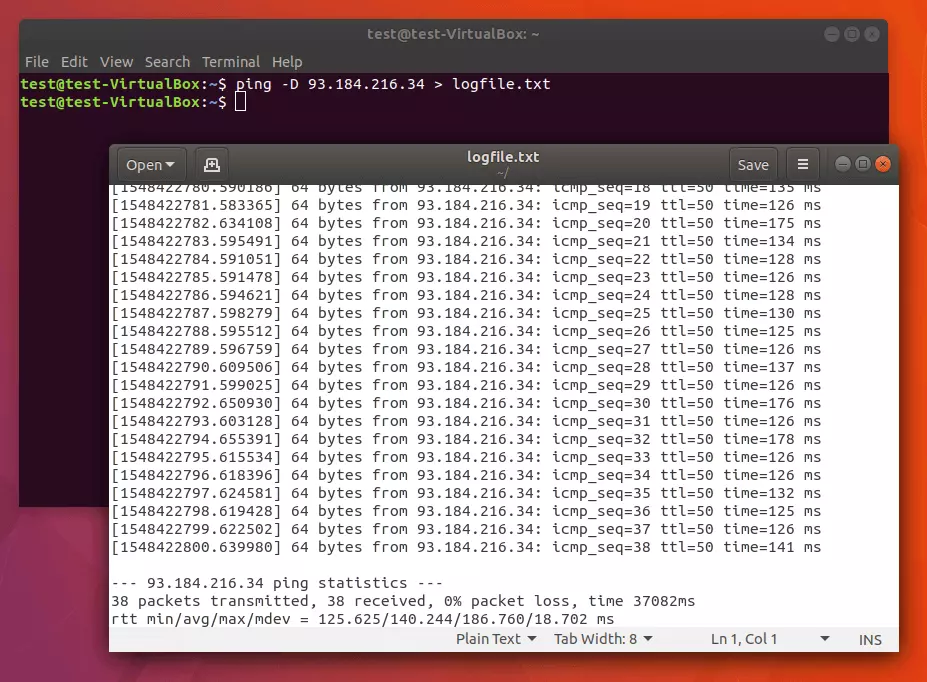
ping 93.184.216.34ping 93.184.216.34 > logfile.txtIf you’d like to have the continuous ping issue a timestamp, use ping with the -D option. In this case, the output for each incoming response packet is preceded by a UNIX timestamp.
ping -D 93.184.216.34 > logfile.txtPing -c 4 93.184.216.34The target computer with the IP address 93.184.216.34 is pinged exactly four times before the program terminates itself.
We provide an overview of the most important Linux commands in our article on the Linux terminal.
Continuous ping in MacOS
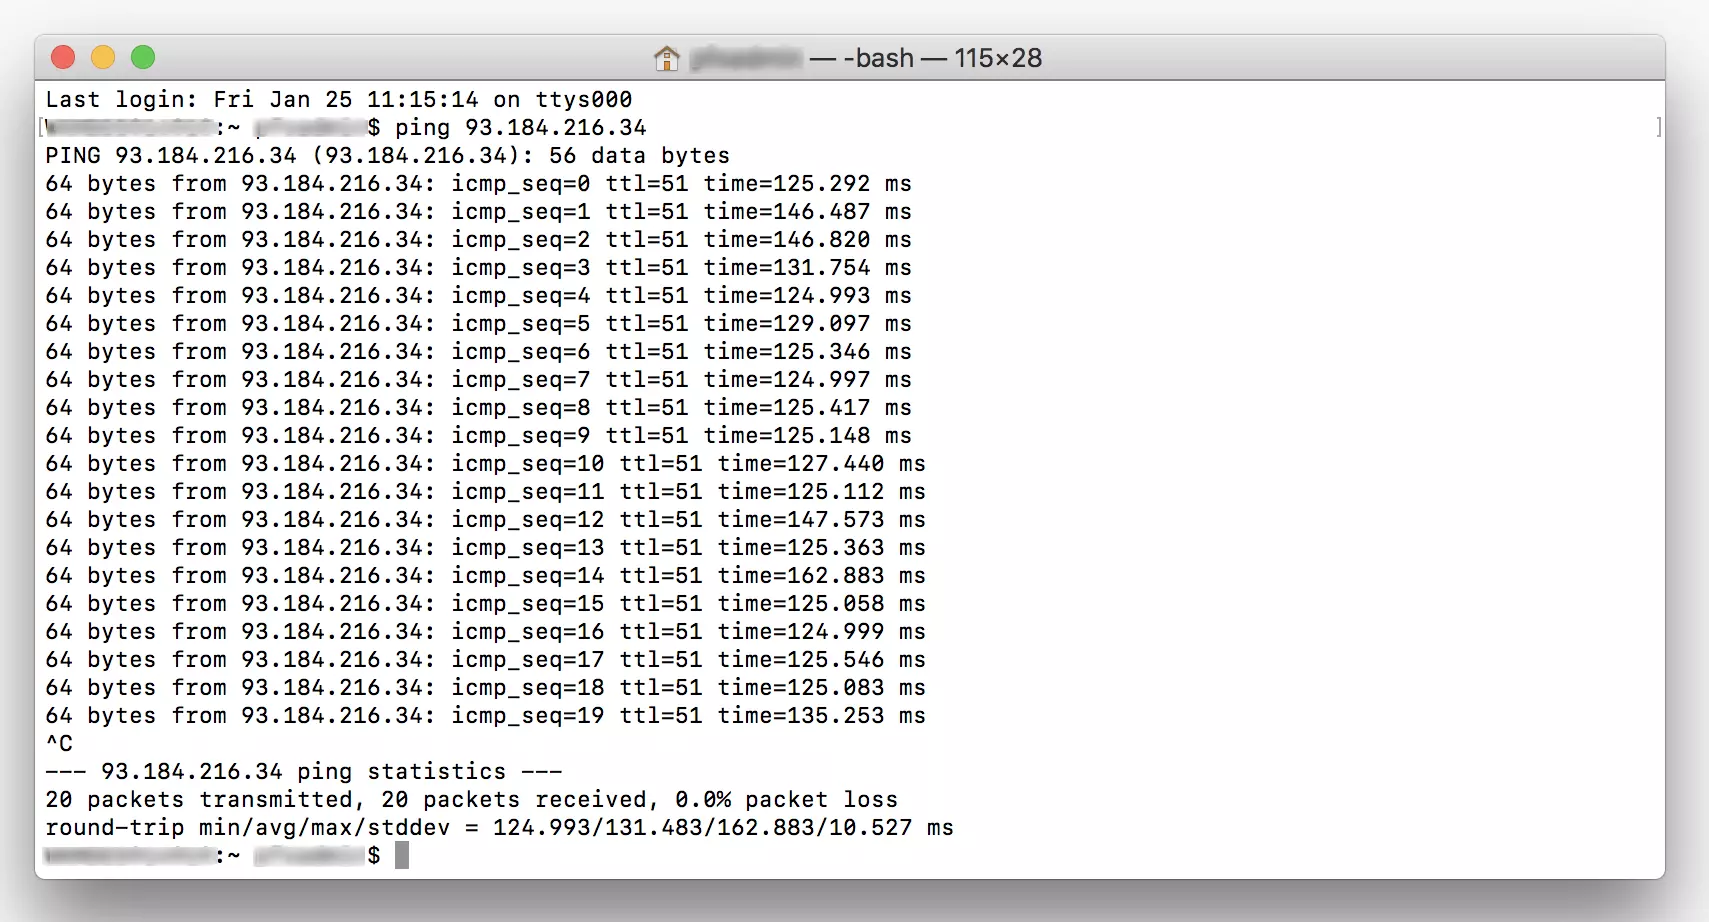
In MacOS, the ping command line program is also run as a continuous ping in the default setting.
Follow the instructions below to run ping in MacOS as a continuous test:
Step 1: Open the terminal. You’ll find the Mac terminal under “Applications” in the subfolder “Utilities”.
Step 2: Run the ping command with the address of the target computer.
ping 93.184.216.34ping 93.184.216.34 > logfile.txtRun a ping test as you would in Linux with a user-defined quantity of echo request queries by choosing option -c.
Ping -c 4 93.184.216.34You’ll find further information on ping command in Windows, Linux and MacOS in your operating system’s manual. Enter the command man ping in the terminal in order to open the manual page for the corresponding command line.


